Getting started
This guide walks from zero to a running PyVELM app with one custom module.
You do not need internal framework knowledge to complete this page. For design decisions and internals, read Architecture later.
Outcome
By the end, you will:
- Scaffold a project.
- Boot it with Docker, a local database, or SQLite.
- Generate and install your first module.
Prerequisites
- Python 3.11+ available in your shell.
- Optional but recommended: Docker and Docker Compose.
- A writable project directory.
1. Install + scaffold
# Install pyvelm (pipx keeps it isolated from system python).
pipx install pyvelm

# Scaffold a project. Creates ./my_erp/ with all the wiring.
pyvelm init my_erp
cd my_erp
The scaffolder drops a self-contained starter tree — a Dockerfile,
a docker-compose.yml, an app/ directory with the FastAPI boot
script, and deploy/ templates for systemd + nginx if you want to
deploy bare-metal later. See CLI → pyvelm init
for the full tree.
2. Boot the app
Choose one path. Docker is the quickest if you want Postgres without local DB setup. SQLite is fine for quick iteration and tests.
PyVELM supports additional SQLAlchemy dialects (for example MySQL/MariaDB, SQL Server, and Oracle). This page uses Postgres/SQLite as the shortest first-run path. For backend matrix and DSN examples, see Multi-database support.
Path A — Docker
The compose file runs Postgres, the web app, and a dedicated cron worker.
When the build finishes, open
http://localhost:8000/login and sign in as admin / admin.
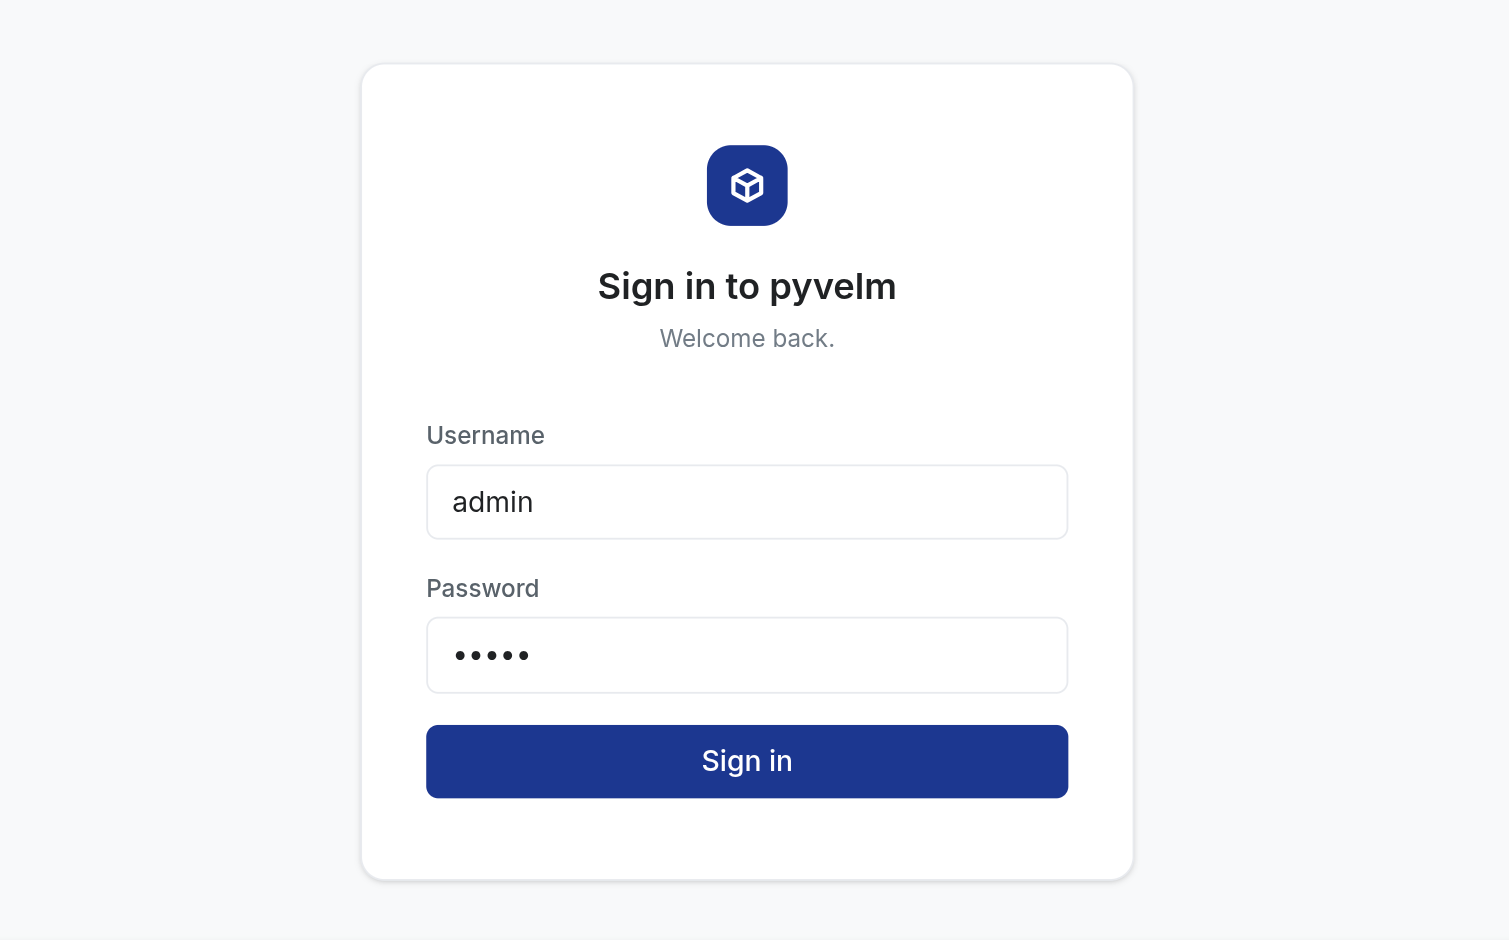
Login page after the first successful boot.
Path B — local database + venv (Postgres example)
cp .env.example .env
# Edit .env so PYVELM_DSN points at a database you control.
# Example below uses PostgreSQL; other supported SQLAlchemy DSNs also work.

python3 -m venv venv
source venv/bin/activate
pip install -e .
python -m app.serve --reload
# → http://localhost:8000/login   (admin / admin)
# → http://localhost:8000/docs     (development mode only)
python -m app.serve defaults to development (PYVELM_ENV=development):
OpenAPI docs at /docs, debug logging, and no Secure cookie requirement.
For production locally: PYVELM_ENV=production python -m app.serve --host 0.0.0.0
or use gunicorn as in Deployment.
Path C — SQLite (no Postgres)
cp .env.example .env
# Example:
#   PYVELM_DSN=sqlite:////absolute/path/to/var/app.db
#   PYVELM_DSN_TEST=sqlite:////tmp/pyvelm-test.db

python3 -m venv venv
source venv/bin/activate
pip install -e .
pyvelm db migrate --all    # model-driven schema; skips backend-specific SQL scripts when unsupported
python -m app.serve --reload
SQLite suits local development and tests. For production, choose a backend that matches your deployment constraints (PostgreSQL is the reference default). See Database layer (v1.0).
What you'll see
A fresh app installs base and admin, which provide login,
navigation shell, Apps catalog, and admin settings.
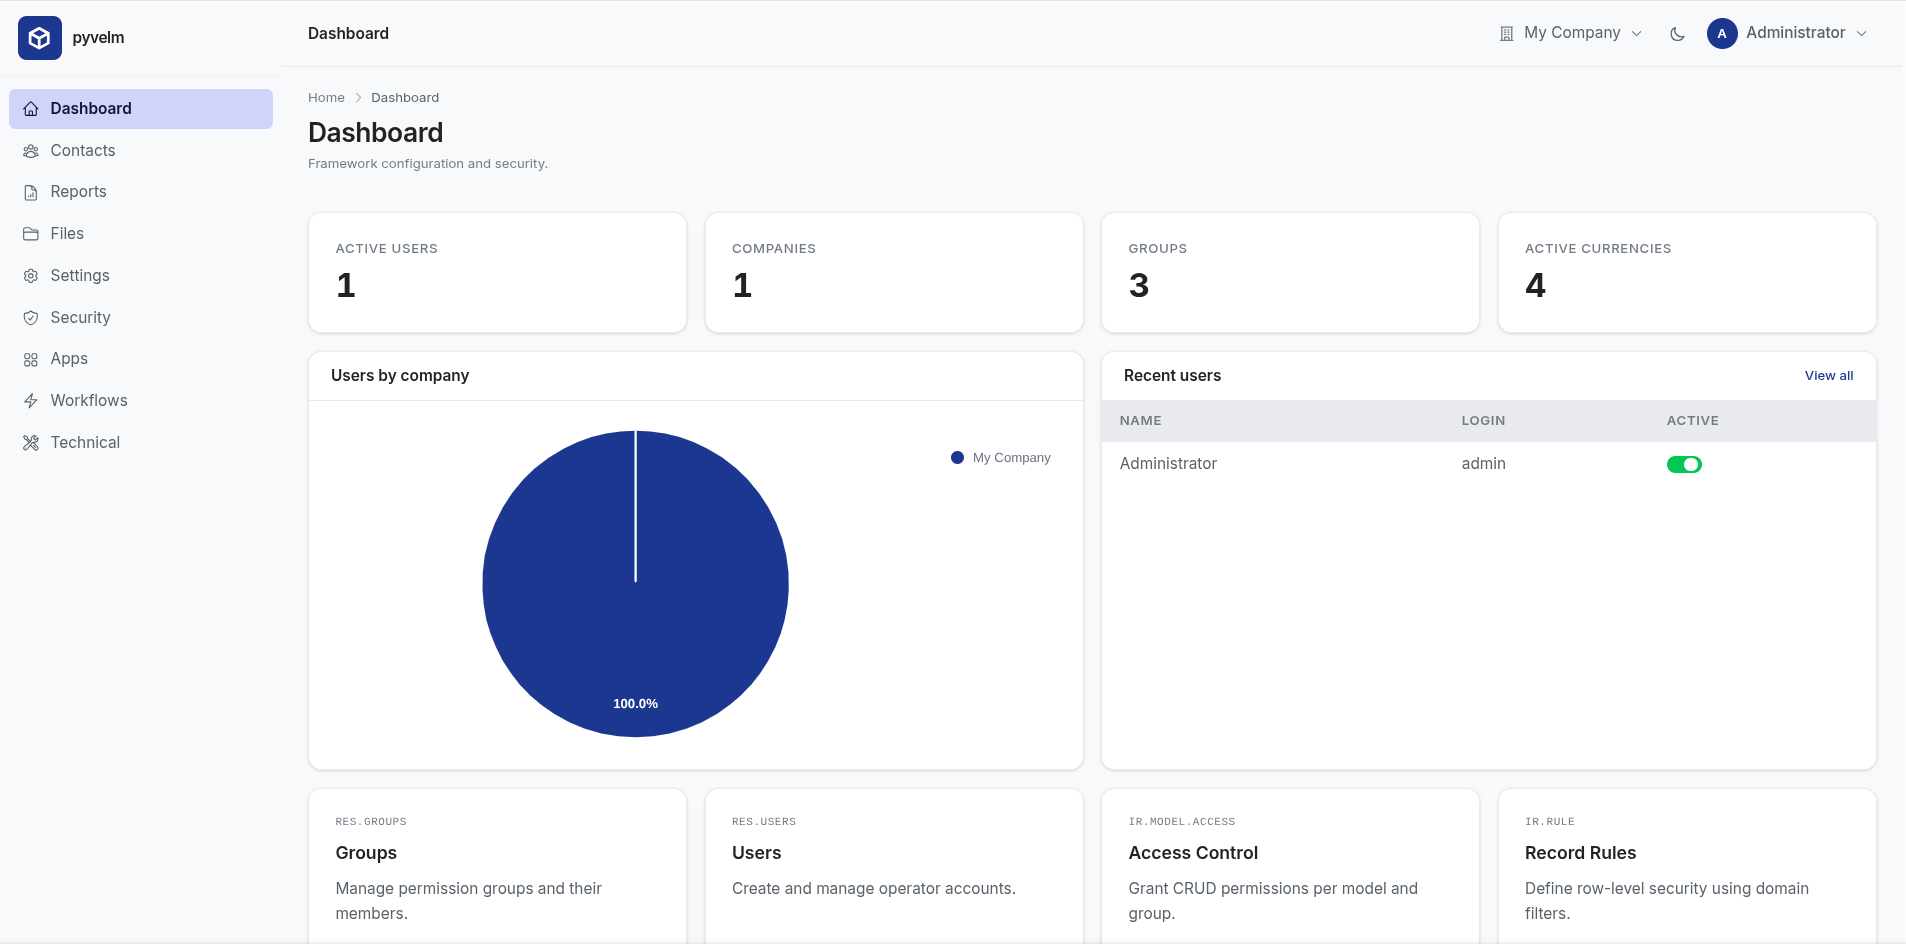
Initial authenticated shell view.
Depending on configuration, visiting / as an anonymous user may show
the public landing page (Get started → login). This is controlled by
PYVELM_LANDING (default: enabled). If you disable it, / redirects
straight to /login.
Click around:
- Apps — install / upgrade / uninstall modules. The framework's
baseandadminare already installed. - Settings — manage users, groups, companies.
- Security — model access entries, record rules.
- Workflows — server actions, automation rules, cron jobs, the mail outbox.
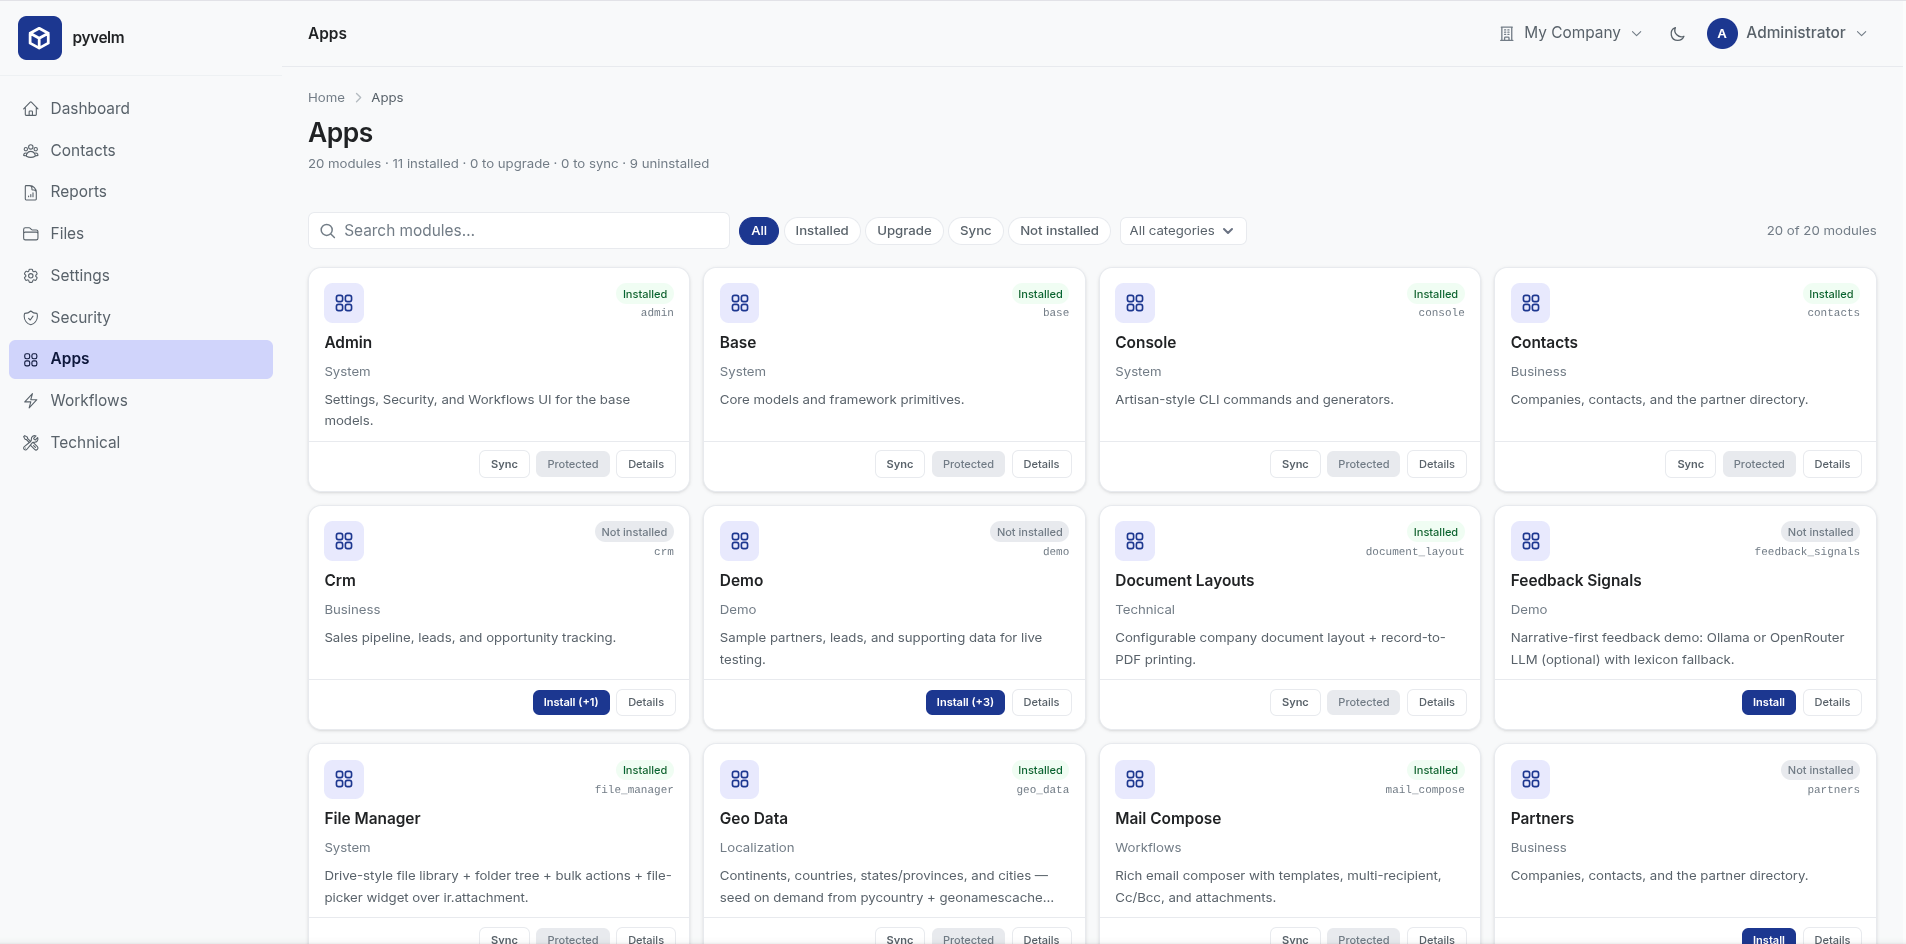
Apps catalog with bundled modules visible.
3. Add your first module
Run pyvelm new inside the project. It auto-detects the module root
from the pyvelm.toml marker created by pyvelm init:
This creates an empty shell under ./app/modules/tasks/ (manifest, hooks,
and empty models/ and views/). Then scaffold model/view/menu files:
pyvelm make:model tasks.todo --module=tasks
pyvelm make:view tasks.todo --module=tasks
pyvelm make:menu --view=todo.list --module=tasks
pyvelm make:stubs
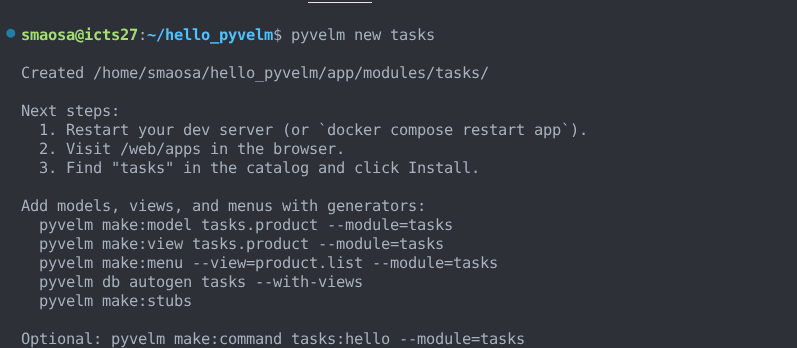
Scaffolding commands creating the module files.
Make sure those generated view files are referenced in
app/modules/tasks/__pyvelm__.py via .data(...):
make:view and make:menu usually update this for you, but it is worth
verifying before running migrations.
make:model scaffolds class Todo(models.Model). Once records exist,
you can query with the fluent API (same ACL path as search()):
Apply schema changes and sync module metadata:
pyvelm db autogen tasks --with-views
pyvelm db migrate
# or: docker compose up   # runs migrate, then app + cron
On a fresh database, app boot and pyvelm db migrate auto-install only
base and admin. Install your module with Apps UI, or run
pyvelm db migrate --module tasks (or --all).
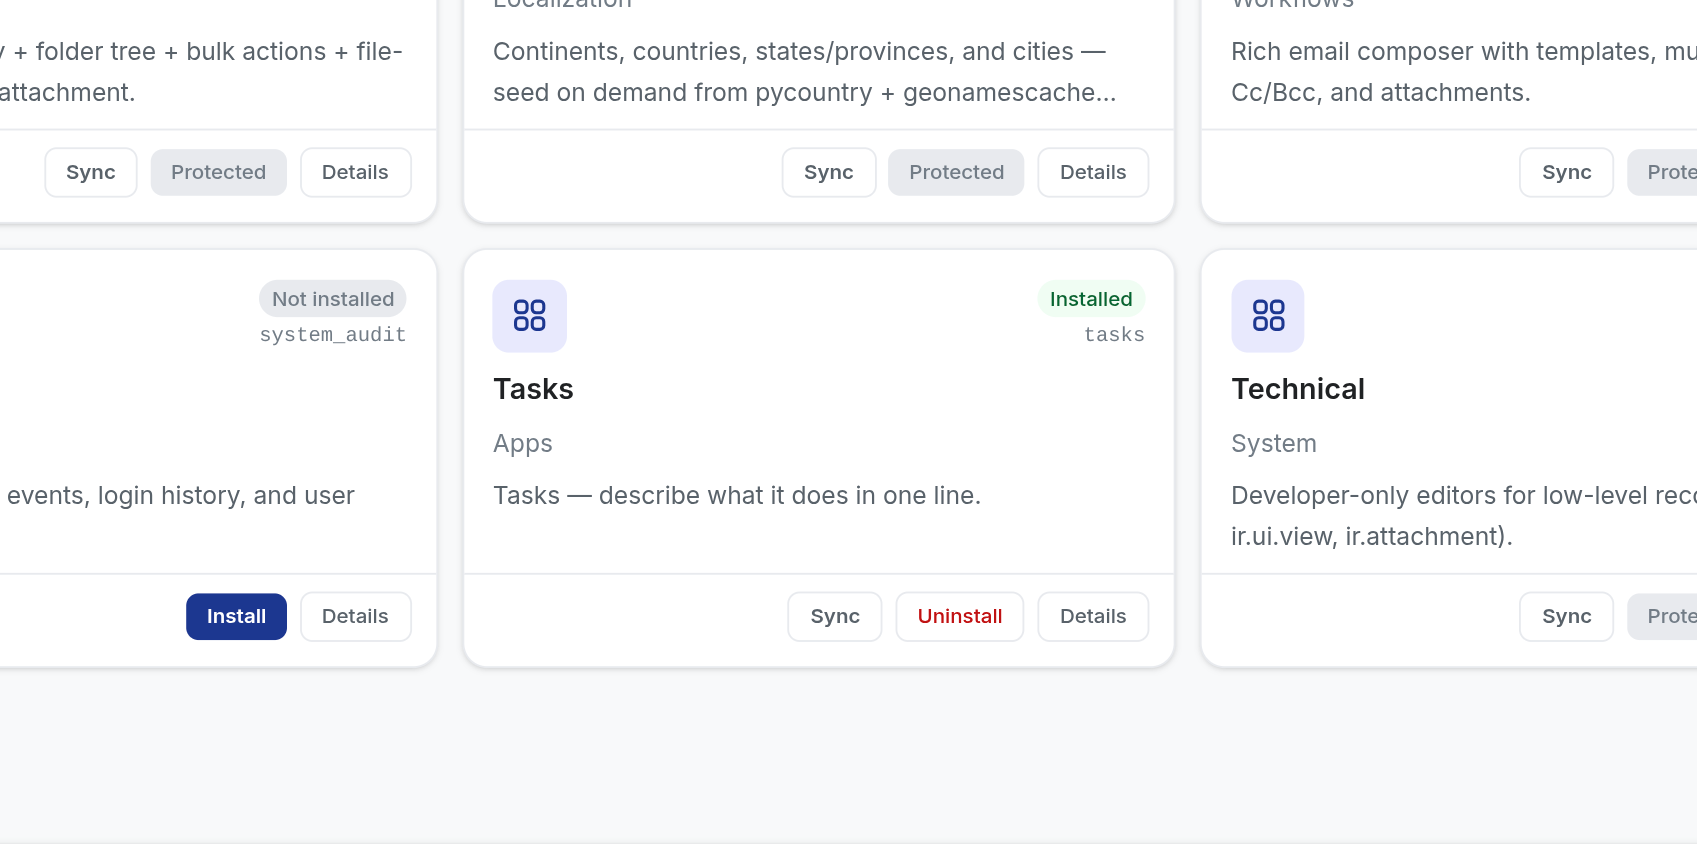
tasks module marked as installed in Apps.
The Apps page should show tasks as Installed after migrate. If not,
click Install. Once menus are synced, the shell exposes your module.
See Navigation for layout behavior.
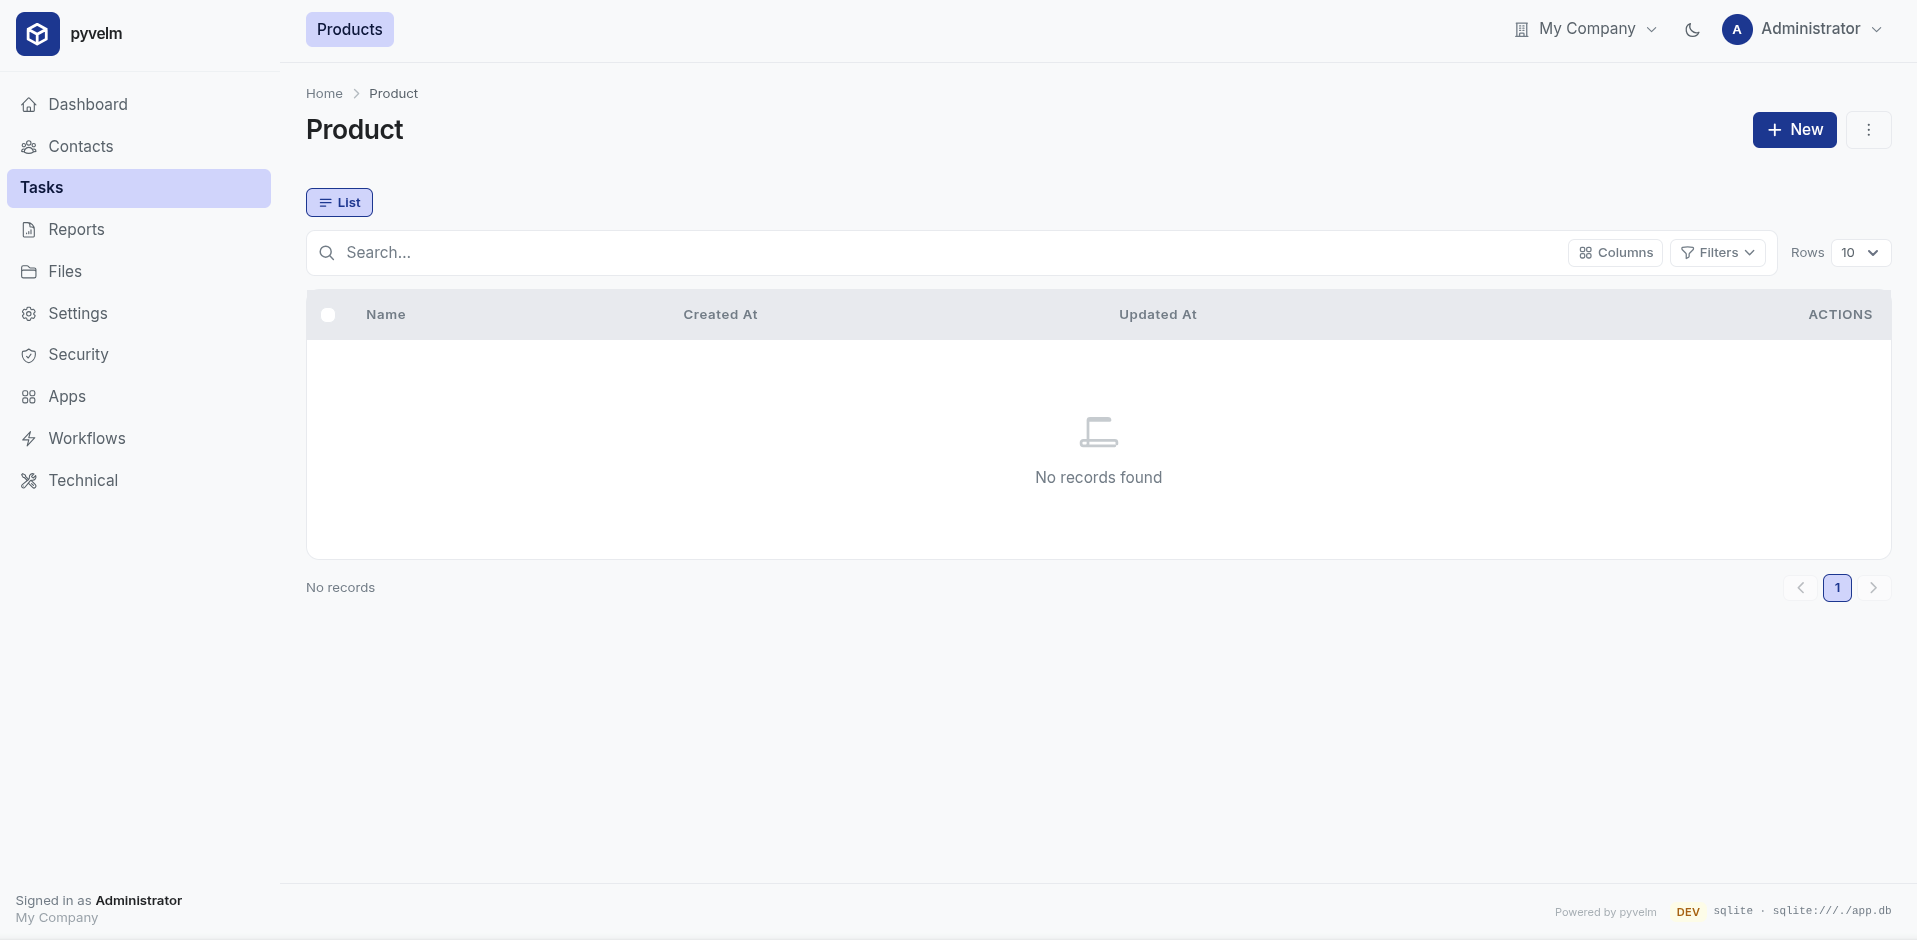
New module menu visible in the shell navigation.
For future model changes, follow Migrations workflow.
make:stubs (above) writes .pyvelm/typing/ and merges
pyrightconfig.json so your editor validates model and view string
literals (including env.query("tasks.todo")). See
IDE typing stubs.
See CLI reference for full command options,
including --in <path> when working outside an init'd tree.
What's next
- Declaring models — the field reference, computed
fields,
_inheritextensions,super()chaining, Eloquent-style.query()builder. - Building UIs — fluent view builders, list / form / kanban arches, widgets, search and filtering.
- Modules —
Manifest.make(),views_data, menus. - Form UX — notebooks, Ctrl+S, save toasts, opening related records in a dialog.
- Extending views — patching another module's arches without forking them.
- Security — groups, ACL, record rules, multi-company.
- Deployment — Docker layout, gunicorn tuning, the cron worker, sending email.